
Installation guide
Installing a 600×600 suspended ceiling, step by step
Installing a demountable ceiling is fast and clean: a suspended grid, then tiles simply laid in. Here is the method we have practised for over 25 years.
Tools & supplies
- Laser level and chalk line
- Drill, anchors and screws
- Perimeter angle trims (L)
- Hangers and threaded rods
- T24 main runners (3,600 mm)
- T24 cross tees (1,200 and 600 mm)
- STRUKTALYS 600×600 tiles
- Shears / nibbler for cuts
Survey & marking
Set the plenum height (allow 10–20 cm below ducts and obstacles) and laser-mark the finished level on the walls.
Perimeter trims
Fix the L angles along the line, anchored every 30–50 cm. They will carry the edge tiles.
Hangers
Fix hangers to the structural ceiling on a grid of roughly 1,200 × 1,200 mm.
T24 main runners
Hang the 3,600 mm runners from the hangers, 1,200 mm apart, aligned with a string line.
Cross tees
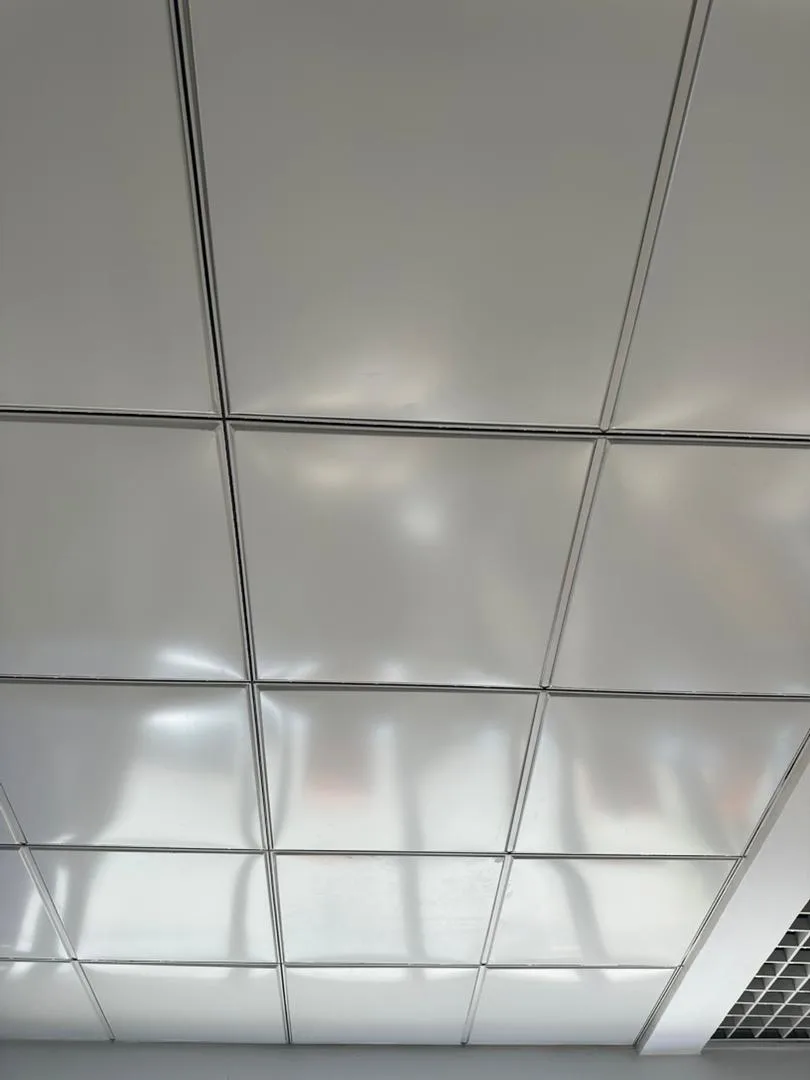
Clip the 1,200 mm tees between runners, then the 600 mm tees to close the 600×600 grid.
Levelling
Adjust every hanger with the laser: the grid must be perfectly flat before laying a single tile.
Laying the tiles
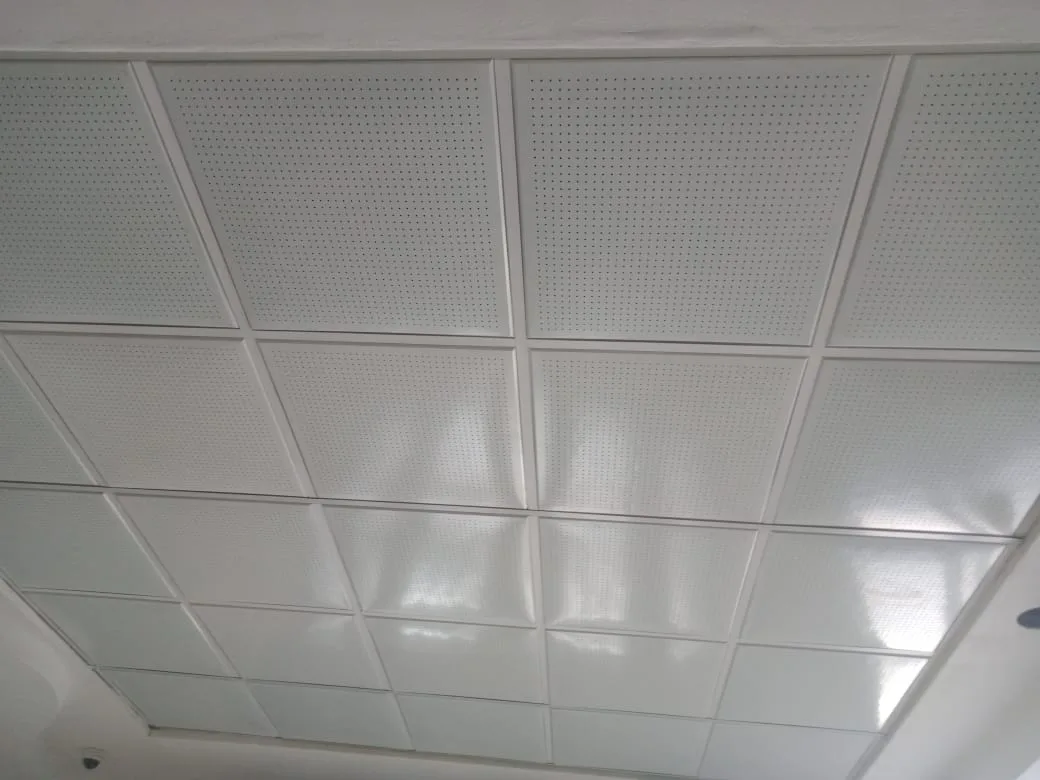
Tilt each tile through the grid and lay it flat. Start with full rows, finish with the edge cuts.
STRUKTALYS tips
- Handle tiles with clean gloves to avoid marks.
- Integrate 600×600 light fittings and grilles directly into the grid.
- In humid rooms our lacquered galvanized tiles hold up — just check plenum ventilation.
- In Constantine, installation by our team can be arranged for regular customers — elsewhere, this guide and a good installer are all you need.
Video tutorials
Watch our installation demonstrations on our YouTube channel.
A project to cover?
Send us the surface area and the wilaya: you'll get the wholesale price and lead time within minutes. Your truck is loaded directly at our Constantine factory.